Mastering the Art of Lash Mapping with Easy Fan Lashes
Lash mapping is a crucial step in the lash extension application process, guiding the stylist in achieving a customized and flattering look for each client. With the introduction of easy fan lashes, the mapping process has become even more streamlined and efficient. In this blog post, we'll explore the art of lash mapping with easy fan lashes and provide insights into achieving flawless results.
Easy fan lashes are pre-made volume lash extensions that feature a unique design, allowing them to fan out effortlessly when picked up with tweezers. These lashes are perfect for creating volume and dimension with minimal effort, making them a favorite among lash artists seeking to streamline their workflow.
Step 1: Consultation and Design
Before diving into the mapping process, start by conducting a thorough consultation with your client to understand their preferences, eye shape, and desired lash look. Use this information to design a customized lash map that complements their natural features and enhances their overall appearance.
Step 2: Analyze Eye Shape and Natural Lashes
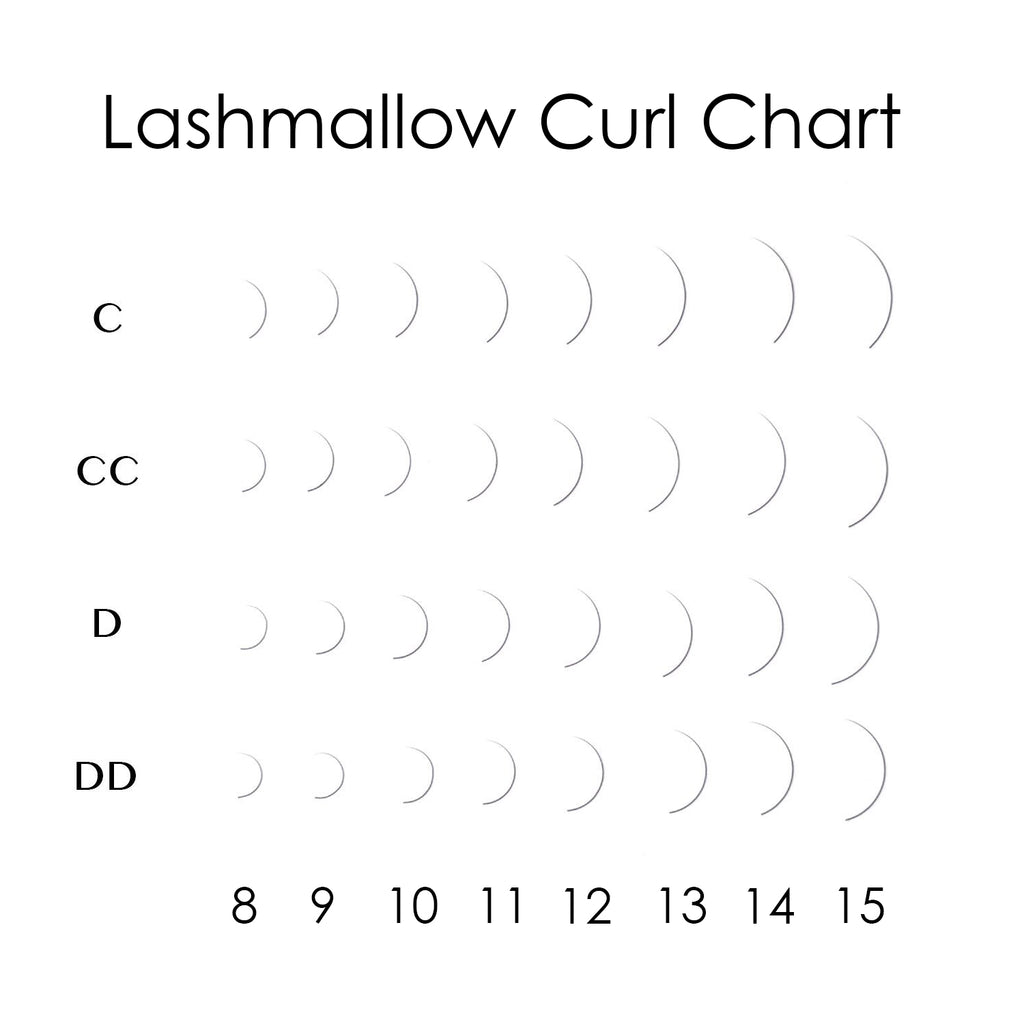
Next, carefully examine your client's eye shape and natural lashes to determine the most flattering lash design. Consider factors such as lash length, thickness, and curl to create a cohesive and balanced look that accentuates their eyes.
Step 3: Determine Lash Placement
With easy fan lashes, you have the flexibility to customize lash placement based on your client's unique eye shape and desired outcome. Whether you're aiming for a dramatic cat-eye effect or a subtle, natural look, take the time to plan out the placement of each lash extension to achieve optimal results.
Step 4: Create a Lash Map
Using a lash mapping technique, outline the desired lash design on a specialized mapping tool or adhesive sticker. This will serve as a visual guide during the application process, ensuring consistent and symmetrical results.
Step 5: Begin Application
Start by applying the easy fan lashes according to your predetermined lash map, using precision tweezers to carefully place each extension along the natural lash line. Take your time to ensure proper placement and alignment, adjusting as needed to achieve the desired look.
Step 6: Fill in Gaps and Sparse Areas
As you progress with the application, pay attention to any gaps or sparse areas that may require additional coverage. Use individual easy fan lashes to fill in these areas, maintaining the overall symmetry and balance of the lash design.
Step 7: Final Touches and Finishing
Once all lashes have been applied, carefully inspect the lash line for any loose or misplaced extensions. Make any necessary adjustments to ensure a seamless and polished finish. Finally, gently brush through the lashes with a mascara wand to blend the extensions and enhance their natural appearance.
Conclusion: Elevate Your Lash Artistry with Easy Fan Lashes
Mastering the art of lash mapping with easy fan lashes allows you to create stunning, customized looks for your clients with ease and precision. By following these steps and incorporating your creativity and expertise, you can elevate your lash artistry and delight your clients with flawless results every time. Experiment with different lash designs, techniques, and styling options to unleash your creativity and unlock endless possibilities in the world of lash extensions.
Private Label Eyelashes Extension Wholesale
As a private label lashes manufacturer, we could supply both eyelash extensions and strip lashes in most materials. Regarding private label for lashes extensions, most popular packages are cardboard boxes, magnetic paper boxes and plastic boxes.
We could custom both paper cards and size stickers for lash extensions.
We also private label and add your logo to lash cleansers and eyelash extension aftercare kits. We help lash artists and lash trainers brand their own lash products.